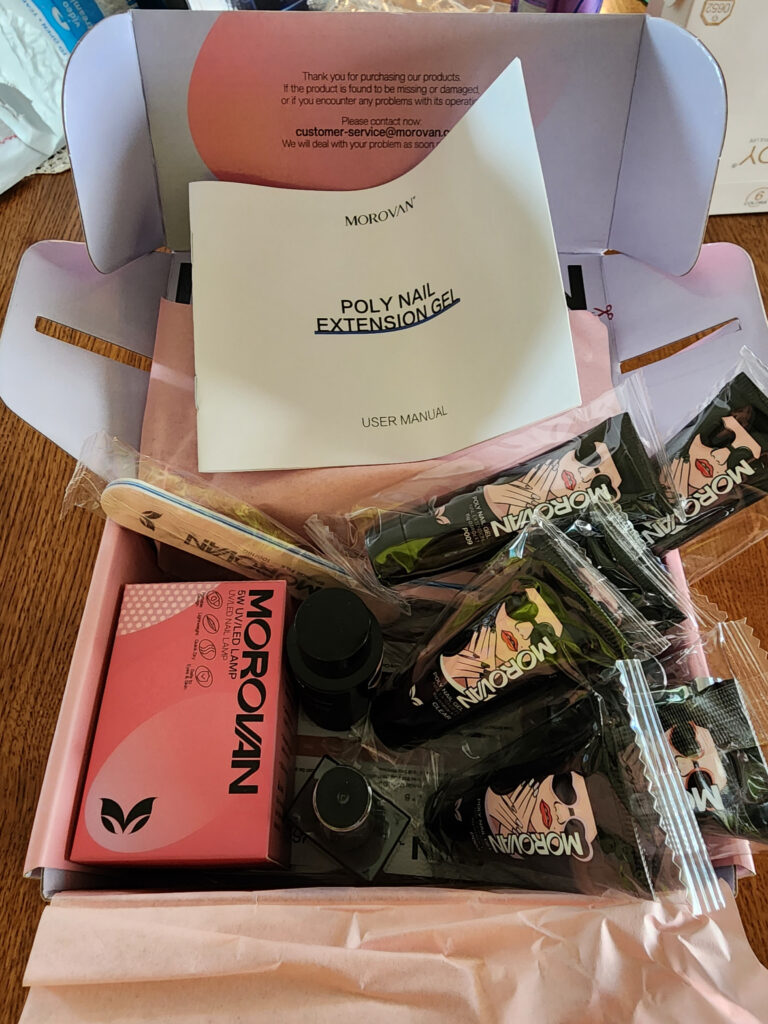
Check out all the products and tools you receive in this polygel kit!
Can you really do them yourself? Polygel stays pliable and can be maneuvered, wiped off, cleaned up and reshaped up until you put it under the curing lamp. The is the main reason I switched to polygel from acrylic. It’s so forgiving. It’s hard enough trying to apply nails to your non dominant hand so I wanted the easiest way to apply nails that would last longer than press-ons. There is a learning curve as in most new skills you decide to try but you really can create beautiful nail extensions at home!
Did they last? Using the products in this kit I created professional looking nail extensions at home that lasted 3 weeks!
Is it worth the price? Absolutely! For under $25 you can treat yourself to some beautiful nails and put them on in the comfort of your own home at your own pace and at any time of day or night that fits your schedule!
The kit includes everything you need to get long lasting polygel nails! The colors included are sooooo pretty and it all comes in a pretty little box you can reuse to store everything. I have listed everything that comes in your kit and my opinion of them with 10 years experience doing my own nails at home!
Heres a list of the products you receive and how well they work to give you beautiful polygel extenstions!
-Morovan UV Light – 6 Tubes of Polygel – Base Coat – Top Coat – Dual Forms – Slip Solution – Polygel Application Brush – Nail Files – Nail Clippers
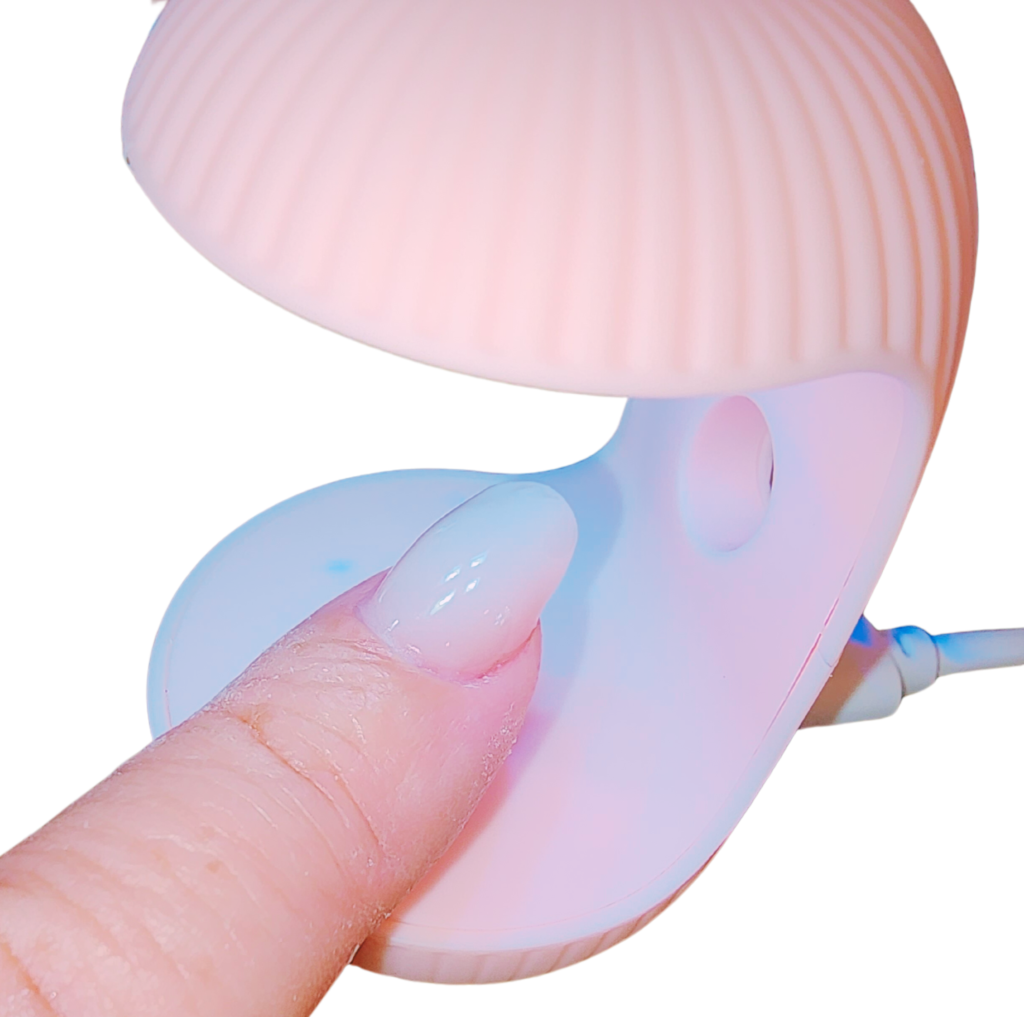
Morovan UV Light – Great small light that completely cured the gel! This is a big factor when you are working with polygel or gel nail polishes. A strong light that cures your nails all the way through will make them last! I do prefer a larger stronger light that I can cure my entire hand at once with. A stronger light will also cure faster. This little light will be my travel light for when I need to do my nails away from home, which is often! BONUS is its really cute!
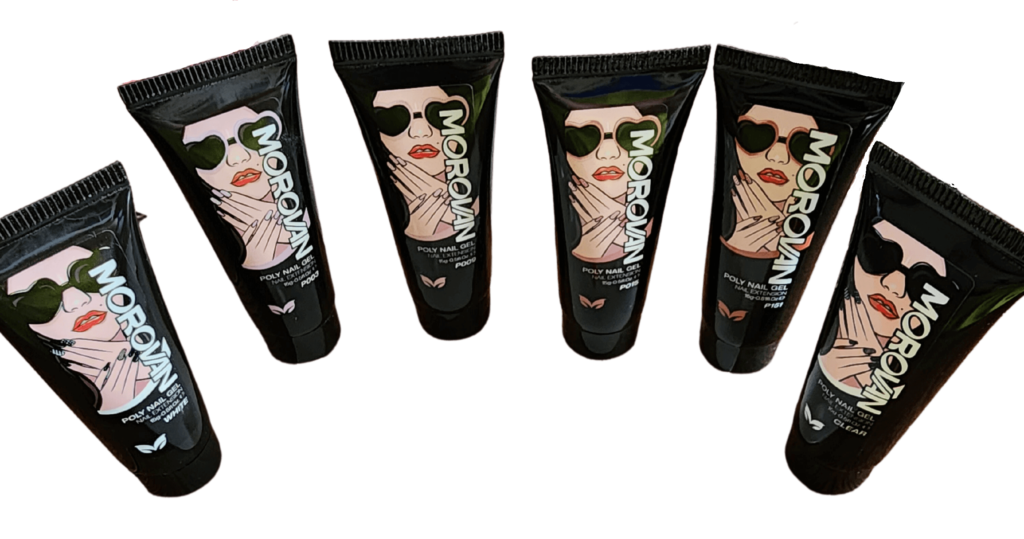
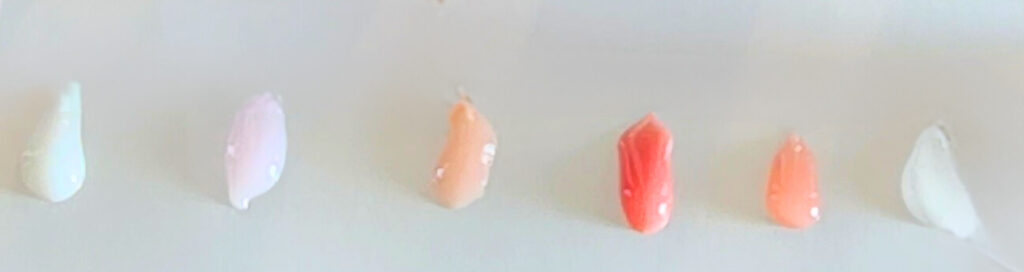
Polygel- Six gorgeous colors come with this kit! I prefer doing pinks on my nails and these are all so pretty! Having polygel in the colors you like saves you time by just top coating and not having to polish them! The polygel is easy to get out of the tube and apply to your nail or dual form. This gel was easily pushed into shape but was a tad runny compared to other brands. You’ll want to work fast and only do one nail at a time. Whats great about polygel is that you don’t cure it until its perfect! So you can practice and if its not working you can wipe it off and start over!
Base Coat and Top Coat – Since my nails lasted 3 weeks and still looked great I’d say the Base and Top Coat did their job! These are also a little on the runny side so apply one nail at a time.
Dual Forms – Dual forms make applying polygel a breeze! The forms that came with this kit weren’t the greatest shape for my nails but they still worked. I had to add a little extra product to my sidewalls. My nail shape is slimmer in cuticle area and wider at the tip of the nail, so I have a hard time finding dual forms that work for my nails without cutting them. If you nail is bed is more uniform or wider at the cuticle these should work great!
Slip Solution – Works as intended, makes your brush nice and slippery so you can push the polygel wear it needs to go. I use a lot of slip solution so this bottle probably won’t last through all the polygel bu you can purchase this independently or use 70% rubbing alcohol in its place.
Polygel Nail Brush – This brush is a probably my least favorite part of the kit. The brush ultimately worked but would fan out and get really fluffy if it wasn’t very saturated in slip solution.
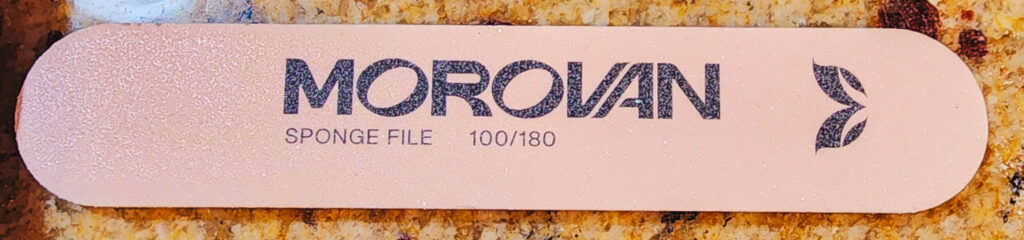
Nail Files -The manual nail files provided are good quality, although small. It comes with a more flexible Sponge File and a Hard File. These will only be usable for 1-3 times depending on how much you have to file your nails and then will need to be replaced. Never share nail files with other people either as you can spread germs that cause diseases of the nail. If your sharing this kit with friends or family definitely purchase extra files!
I highly recommend getting an electric nail drill! It’s very difficult to shape underneath your nails with out an electric drill. You’ll want to be very careful not to get too much gel on the underside of your nails as you wont be able to reduce the thickness or shape that area with manual nail files.
Whats missing from the starter kit?
Nail primer and dehydrator are great products to help with the longevity of your nails. These products come in a nail polish size bottle and last forever so they are worth the investment especially if you have issues with your nails lasting!
As previously mentioned a electric nail file is extremely helpful in shaping your nails, especially the underside. It is also helpful when removing gel or glitter polish that takes forever with lots of chemicals! An electric nail file will save you time and give you the most professional looking nails. You wont be able to shape the underside of your nails if they get too much gel without a rounded tip like on a drill. If your starting with long natural nails or plan to use nail tips this is less of a concern.
Heres how my nails turned out! They lasted 3 weeks before I started getting some lifting! I painted them with a color changing gel polish that I love!
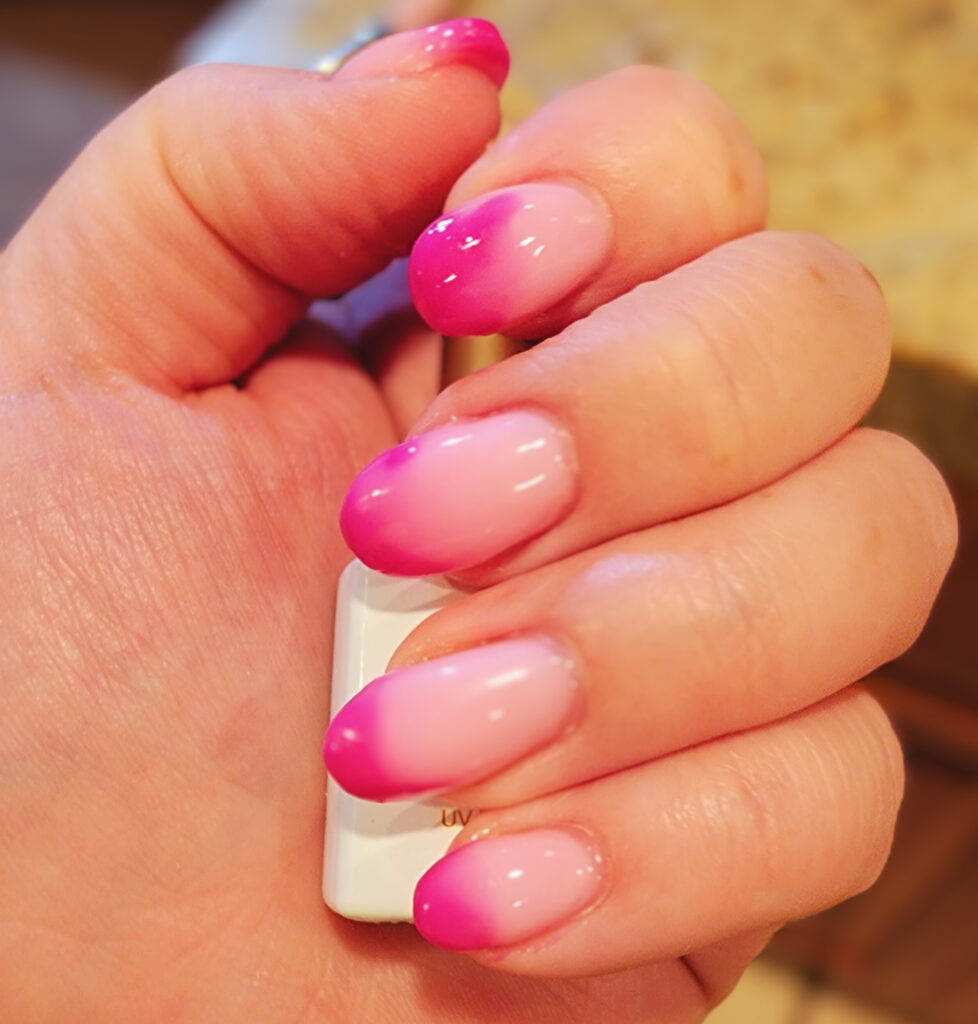
Note – The tips of my nails are uneven due to the color changing polish. They usually are one solid color or have more of a subtle ombre look depending on the temperature. Also I used a really subtle pink gel that looked nice before the polish. I generally pick polygel colors I like so all I have to do is apply top coat. However, I was already applying this color to my toes and wanted to be matching for a beach trip!
