
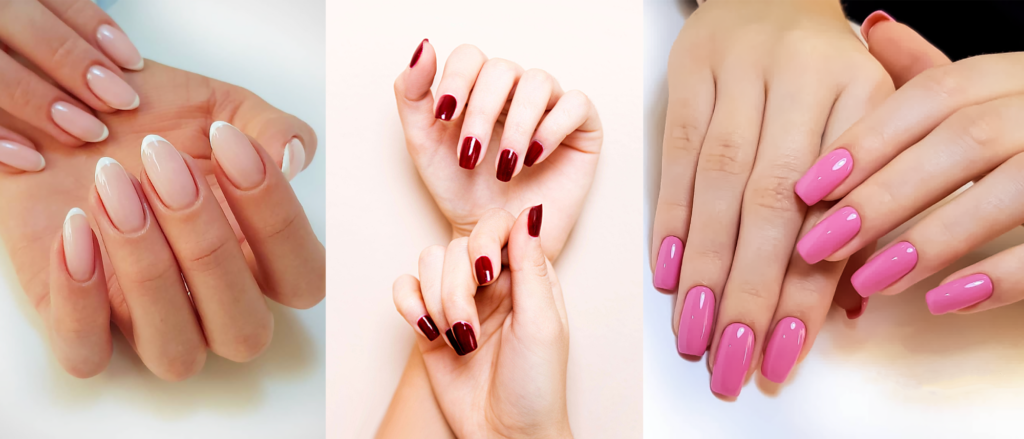
Polygel nails offer the perfect balance between acrylic and gel polished nails.
If you’re looking to achieve beautiful and durable nail extensions at home, you’re in the right place. In this guide, we’ll walk you through the process of applying polygel nails, from nail prep to shaping and finishing.
Products You’ll Need
- Polygel
- Slip Solution or Rubbing alcohol 70%
- Nail Dehydrator
- Nail Primer
- Base Coat
- Gel Nail Brush
- Dual Forms
- Standard Forms
- Glass Dappen Dish
- Lint Free Nail Wipes or High Quality Paper Towels
- LED UV Light
- Nail Files
- Electric File (I love Melody Susie for Electric Files)
- Top Coat
- Gel Polish (Optional)
- Nails Stickers or Rhinestones (Optional)
- Nails Tips and Nail Extension Trimmer(Optional)
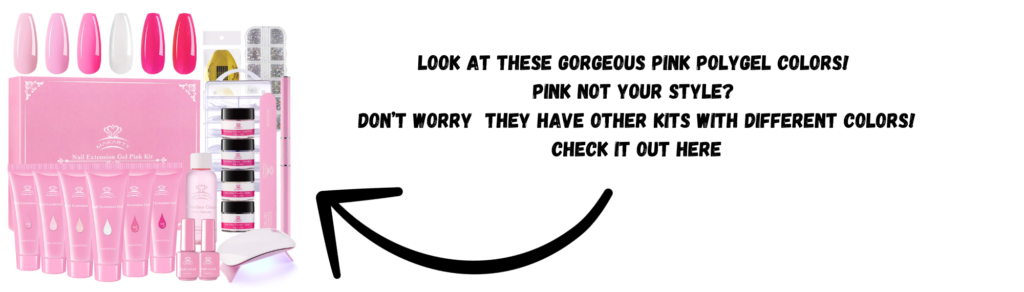
Most of these items will come in a good starter kit such as this Markarrt Starter Kit! All you need to add is an electric file, nail dehydrator and primer, nail tips, glass dappen dishes, and any polish or nail art supplies. This kit does come with some glitter and rhinestones and the gel colors are so beautiful you might not need anything extra in that department!
Nail Prep
- Find a good spot to do your nails. You’ll want a well lit room with natural light if possible. Good lighting is essential in seeing the details of nail work. A large, flat, clean surface that’s close to plug ins for nail file and light. Once you decide on a spot get all your products out and have it accessible. Plug in your tools as well.
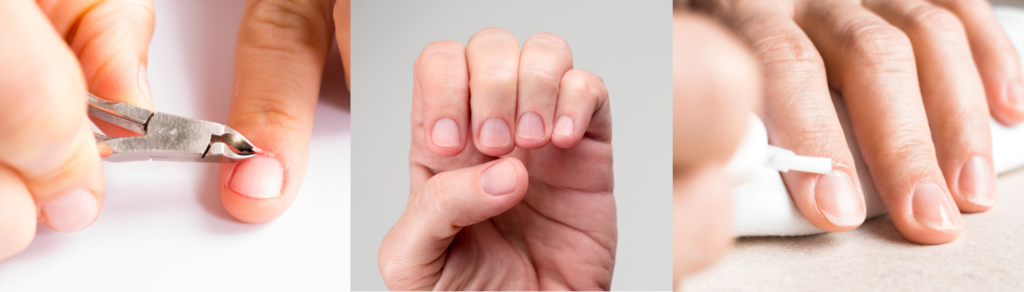
- Start with Clean Nails: Remove any old polish with polish remover. Clean underneath nails and around cuticles if necessary.
- Push Back Cuticles: Gently push back your cuticles using a cuticle pusher. Avoid cutting them unless you have hang nails that are sticking up. My old beauty school teacher always said, “Only cut it if its waving ‘Hi'”. Or something silly like that!
- If your nails are longer than your desired length trim them.
- Lightly buff the nail surface to remove shine and create a rough texture for better adhesion. A nail buffing block, hard file or electric file can be used as long as your using a high grit. Do not over file your natural nail, were just removing the shine!
- Dehydrate and Prime: Apply a nail dehydrator to remove any oils. I prefer an actual nail dehydrator with an applicator. I have also used 91% alcohol and wiped it on with a paper towel and it was just as effective. Then apply a thin layer of nail primer to promote adhesion.
- Now don’t touch anything! That’s what your nail lady would say, but since were doing our own nails your gonna have to touch stuff! Try not to touch anything to the nail plate until you get your base coat on and cured!
- Make sure your curing light of choice is plugged in and with in easy reach. Carefully apply base coat to your nails. Your base coat should be even and cover all the nails except for a slim border around the cuticle. This is very important for longevity. If you base coat touches your skin you will have lifting and all your hard work will go down the drain! If you need to pour some rubbing alcohol into a dappen dish before you start. Using the polygel nail brush and the alcohol you can remove the base coat from unwanted areas.
- Cure the base coat: I like to apply one nail at a time, flash cure my nail for 10 seconds. This starts the curing process and stops the polish from moving and running. I then apply the next nail and repeat until one hand is complete. Then I will do a full 90 second cure on low or 60 seconds on high. How many fingers you can cure at once will depend on what size light you have. I use this one from LKE.
- Now that your nails are cured you need to remove the sticky residue. Using rubbing alcohol and a lint free wipe remove the residue from each finger.
Whew that was alot! If you need break or your kids need you to open their Capri Sun this is a great stopping point. Your nails are fully cured and dry. Just make sure to cleanse your nails with alcohol again once your ready to continue. Now for the fun part, applying the polygel!
Applying Polygel
- Select Dual Forms or Nail Tips or Both! Dual Forms or Pop Its will both give your nails length however if your nails are really short application might be easier with nail tips. (Tips for Applying Tips coming soon!) Polygel can also be applied manually but Dual Forms make it so easy! Youll need to select a form for each finger. A form should fit your nail bed all the way to the cuticle. Between the choice of a too small or too large form, the larger form is most likely the best choice! Dont worry about the length of these forms, you determine your length by how much gel you apply.
- Make sure your area is clean and you have all your supplies. If your forms or work area are dusty, especially from buffing your nails youll want to wipe everything down and clean your forms with alcohol or slip solutions. Dont forget to cleans your nails again with alcohol if needed. Once your area is clean pour some slip solution into a dappen dish. Have your polygel nail brush and polygel ready. I like to line my forms up in order of my fingers.
- Next we’ll prepare the polygel in the forms. Squeeze out a small bead of polygel onto a nail form towards the base end. You can choose to do 1 nail, 1 hand or all 10 nails at once. I prefer to do my dominant hand first and fill all 5 forms.
- Dip your brush into the slip solution to prevent sticking, but you dont want this too wet! I dip in the solution then a quick dab on my paper towel and then I start shaping! If at any time your gel gets sticky wet your brush again. Dont be shy with the slip solution, if its sticking to your brush you need more! Also if needed at anytime you can lay your brush flat on your towel and wipe any chunks off.
- Lets get your nails shaped! Whatever length and shape you shape the polygel into will be the base of your nail. Although you can always add more gel, adding gel to the length can be tricky and can cause breakage if not cured in the original shape. So if in doubt make your nails longer rather than shorter, you can always file them shorter. Start by slowly tapping and pushing the gel from the base to the tip with your we nail brush. Make sure to push the gel to both sides all the way to the desired length. If your start getting holes or dont think its thick eneough you can add more polygel to the base and press it outward into the existing gel.
- Check your work. Before curing, check all you forms for bubbles or any mistakes. Bubbles in the polygel need to be pressed out as they cause holes in the surface of the gel that can cause lifting and make your finsihed product look not so pretty.
- Yay! Its time to apply the forms to your fingers! Pick one form up by the end. There are little tabs on the ends that help with holding the. Slowly but firmly press the form onto your nail bed. Start at an angle at the cuticle and press forward out to the nail edge. Check the underneath to make sure the gel has adhered to enite free edge of your natural nail or nail tip. Check you nails from all angles to make sure they are on straight, mainly holding up straigt in front of you with your knuckles facing you. If any polygel has squeezed out the sides and is touching your cuticle area you’ll need to clean this off. This goes for underneath your nail as well. If you pressed to hard or the form slid down it can send gel to the underneath and youll want to clean this off as well.
- Perfect before curing! Using your wet nail brush clean the cuticle area to remove excess gel. Next flip your hand over and gently clean the underside up focusing on making sure no gel is touching skin. Then flip back over and check the top again!! Cleaning the underside can cause slipping on the top. Make sure its still in the right spot and your ready to cure! Dont forget these nails are pliable until you cure them! So if your having issues, its got too many bubbles, or it slipped to much and lost its shape, you can always remove the form. Wipe the excess off your finger nail with a saturated paper towel or lint free towel. Reshape the dual form, adding more polygel if needed and try again!
- Cure It! If it looks good get it under that light! Light strengths do vary but in general 60 seconds usually will cure your polygel. At the least it will get it to quit slipping around and you can cure again. Once cured you can pop the form right off! I know it feels scary the first time but its so satisfying popping that form off and seeing that glossy nail underneath!
- Repeat steps 7, 8 and 9 on all your fingers and then were ready for shaping!
Since your polygel is completely dry and cured this is another great time to take a small break if needed!
11. Now its time to perfect and shape your nails. Using a medium grit file, remove any bulk if needed. This can be done with a manual file or an electric drill. Once you have the shape and length you want you’ll want to drop to fine grit. Refile anything that the medium grit file touched to remove all the grooves. Be sure to pay attention to your cuticle area. Any product touching your skin will cause lifting so make sure to file it away.
12. Now we need to buff your nails! I prefer to use a buffing block to do this. It’s flexibility helps cover all angles of your nails. Buff each nail until it’s nice and smooth!
13. Your nails are almost done! Clean them well to remove all of the dust and decide if you like the color or if you’d like to add gel polish or art to them. What’s nice about poly gel is it comes in lots of pretty colors so if you want you can just add a coat of clear gel top cot and cure, you can! But you can also paint, add nail wraps, stickers rhinestones or any other embellishments!
