A Step-by-Step Guide For Lasting Nails

Achieving beautiful and long-lasting manicures with polygel, gel polish, or nail wraps begins with proper nail preparation. Nail prepping is a crucial step that ensures your nail enhancements adhere securely and look flawless. In this guide, we’ll walk you through the essential steps of filing, cuticle care, using a dehydrator, and applying primer to prep your nails for a stunning and durable finish.
Step 1: Filing
Filing your nails is the foundation of nail prep. Here’s how to do it correctly:
1.1. Start with clean, dry nails: Ensure your nails are free of any polish or residue before you begin filing. If your doing a backfill on extensions you only need to prep the natural nail.
1.2. Choose the right file: Opt for a good quality nail file with a grit of 180 to 240 for natural nails. If you’re working with nail extensions or polygel, a lower grit file (around 100) can be used. Use a hand file if your just starting out. If your more experienced you can use a electric nail file with a high grit on a low setting. You don’t want to damage your natural nails.
1.3. Shape your nails: Gently shape your nails into your desired shape, whether it’s square, round, oval, or almond. Always file in one direction to prevent nail damage, and avoid sawing back and forth. Using a hard hand file works best for this.
1.4. Buff the nail surface: Use a gentle buffer to smooth the nail surface. You only need to remove the shine and any skin that has grown on your nail beds. This helps the product adhere better to your nails.

Step 2: Cuticle Care
Healthy cuticles are essential for a flawless manicure. Here’s how to care for them:
2.1. Soften cuticles: Soak your hands in warm, soapy water for a few minutes to soften the cuticles. There are also cuticle care creams you can apply if your cuticles are in really bad shape.
2.2. Gently push back cuticles: Use a cuticle pusher or orangewood stick to carefully push back your cuticles. Do not cut them, as this can lead to infection or damage. I prefer a stainless steel cuticle pusher that also works to keep nails clean! Make sure to keep this sanitized!

2.3. Trim any hangnails: If you have any visible hangnails or loose skin around your nails, carefully trim them with cuticle nippers.
Step 3: Dehydrator
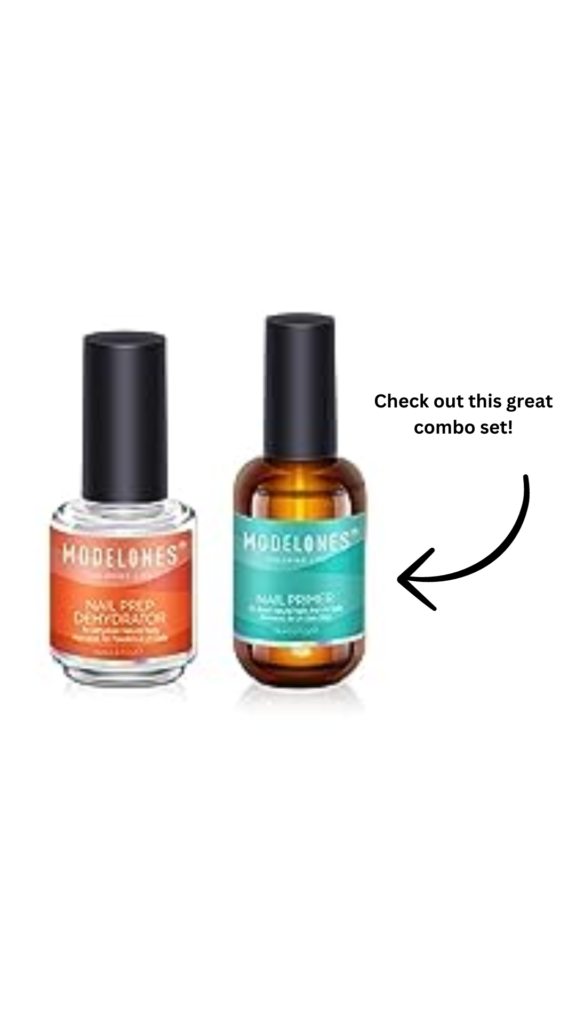
A nail dehydrator is essential to remove any oils or moisture that may interfere with the adhesion of your nail enhancement product. Here’s how to use it:
3.1. Apply the dehydrator: Using a lint-free nail wipe or pad, apply a small amount of nail dehydrator to each nail, making sure to cover the entire nail surface. If your dehydrator comes with an applicator use that instead. Allow it to dry completely, usually within 10-15 seconds.
3.2. Avoid touching your nails: After applying the dehydrator, avoid touching your nails or allowing them to come into contact with any oils or lotions.
Step 4: Primer
Primer is a bonding agent that helps your nail enhancements adhere better and last longer. Here’s how to apply it:
4.1. Apply a thin layer of primer: Using a clean, dry brush or applicator, apply a thin, even layer of primer to your nails. Be careful not to flood the cuticles or skin surrounding the nails.
4.2. Allow it to air dry: Let the primer air dry for about 30 seconds to 1 minute, or as per the manufacturer’s instructions. It should appear slightly tacky when ready.

Proper nail preparation is the key to achieving stunning and long-lasting manicures with polygel, gel polish, or nail wraps.
By following these steps – filing, cuticle care, using a dehydrator, and applying primer – you’ll ensure that your nail enhancements adhere securely, look flawless, and last for weeks. Remember to always read and follow the product-specific instructions, and with practice, your nail prepping skills will improve, resulting in beautiful, salon-quality nails in the comfort of your own home. Happy nail prepping!
If your looking for some fun gel polishes check out these color changing ones from Gaoy!

